

Keeping your kitchen appliances clean is essential for maintaining a hygienic and efficient kitchen. At Ivory Cleaning, we understand the importance of a spotless kitchen, and we’re here to help you achieve it. Follow this step-by-step guide to clean your kitchen appliances thoroughly and efficiently.
1. Cleaning the Refrigerator
Step 1: Empty the Refrigerator
- Remove all food items and store them in a cooler to keep them fresh.
- Dispose of expired or spoiled items.
Step 2: Remove Shelves and Drawers
- Take out all removable parts and wash them in warm, soapy water.
- Let them air dry completely before reinserting.
Step 3: Wipe Down Interior Surfaces
- Use a mixture of equal parts water and white vinegar to clean the interior.
- Wipe down all surfaces, including walls, shelves, and drawers, with a microfiber cloth.
Step 4: Clean the Exterior
- Wipe the outside of the refrigerator, including the handles, with a mild detergent solution.
- Dry with a clean cloth to avoid streaks.
Step 5: Replace Shelves and Drawers
- Once everything is dry, put the shelves and drawers back in place.
- Return the food items to the refrigerator.
2. Cleaning the Oven
Step 1: Remove Oven Racks
- Take out the oven racks and soak them in warm, soapy water for a few hours.
- Scrub with a sponge or brush and rinse thoroughly.
Step 2: Clean the Interior
- Make a paste of baking soda and water and apply it to the oven’s interior surfaces.
- Let it sit for at least 12 hours or overnight.
Step 3: Wipe Down the Oven
- After the paste has set, wipe it off with a damp cloth.
- For stubborn spots, use a plastic scraper.
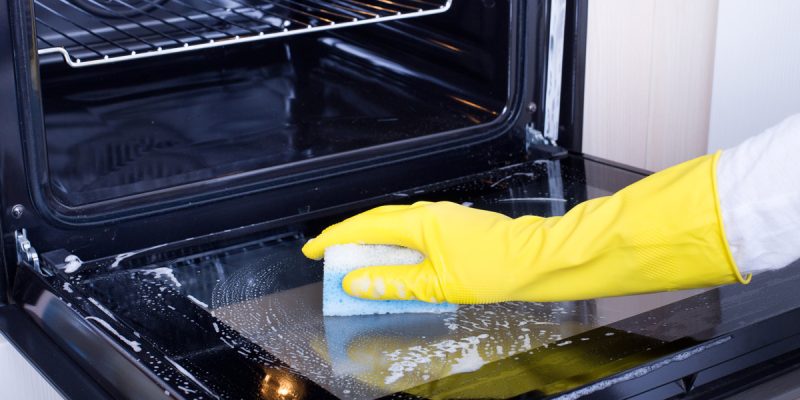
Step 4: Clean the Oven Door
- Use a glass cleaner or a mixture of vinegar and water to clean the oven door.
- Wipe with a microfiber cloth to prevent streaks.
Step 5: Replace the Racks
- Once the oven and racks are clean and dry, place the racks back in the oven.
3. Cleaning the Microwave
Step 1: Remove and Clean the Turntable
- Take out the microwave turntable and wash it with warm, soapy water.
- Dry it thoroughly before putting it back.
Step 2: Steam Clean the Interior
- Fill a microwave-safe bowl with water and add a few slices of lemon.
- Microwave on high for 5 minutes to loosen grime.
Step 3: Wipe Down the Interior
- Carefully remove the bowl and wipe the interior with a damp cloth.
- Use a vinegar and water solution for tougher stains.
Step 4: Clean the Exterior
- Wipe the outside of the microwave with a mild detergent solution.
- Dry with a clean cloth to prevent streaks.
4. Cleaning the Dishwasher
Step 1: Empty the Dishwasher
- Remove all dishes and utensils.
Step 2: Clean the Filter
- Take out the dishwasher filter and rinse it under hot water.
- Use a brush to remove any debris.
Step 3: Wipe Down the Interior
- Use a damp cloth to wipe down the dishwasher’s interior surfaces, including the door and gasket.
Step 4: Run a Cleaning Cycle
- Place a dishwasher-safe cup filled with white vinegar on the top rack.
- Run a hot water cycle to remove buildup and odors.
Step 5: Clean the Exterior
- Wipe the outside of the dishwasher with a mild detergent solution.
- Dry with a clean cloth to avoid streaks.
Conclusion
Regularly cleaning your kitchen appliances not only keeps them looking new but also ensures they run efficiently and last longer. By following these step-by-step instructions from Ivory Cleaning, you’ll maintain a hygienic and well-functioning kitchen. For professional cleaning services, don’t hesitate to contact us. Let Ivory Cleaning help you keep your home sparkling clean!
For more information – https://www.cleaningservicesmelbourne.com.au/house-cleaning-melbourne/